Difference between revisions of "Community Bread Space strategy"
GrampaSwood (talk | contribs) m (→General Strategy: Moved from main page by User:Salted) |
MobyTheLion (talk | contribs) (→{{class link|Soldier}}) |
||
| Line 32: | Line 32: | ||
=== {{class link|Soldier}} === | === {{class link|Soldier}} === | ||
| + | * To the right first RED spawn, You can jump on an overhanging bar to the right via Rocket Jumping, which can be used as an advantage for surprise flanking. | ||
=== {{class link|Pyro}} === | === {{class link|Pyro}} === | ||
Revision as of 00:29, 10 June 2023
| “Sun Tzu's got nothing on us!” This article is a Community strategy stub. As such, it is not complete. You can help the Team Fortress Wiki Community Strategy Project by expanding it. |
| Community Bread Space strategy | |
|---|---|

| |
| Basic Information | |
| Developer(s): | {{{map-developer}}} |
| Map Info | |
| Environment: | Space |
| Setting: | Night, moon |
| Hazards: | Bread Monster, Pitfalls, Green fissures |
| Map Photos | |
This article is about Community Bread Space strategy.
Note: It is recommended to read the main Bread Space article first to become familiar with the names of key map locations used in this article.
Contents
General Strategy
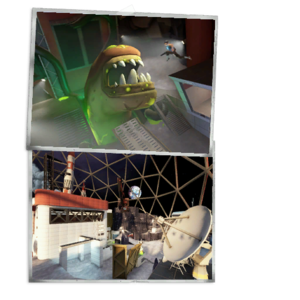
- This map, even though containing a lot of cover for you to hide behind, is still a very open map and you are in danger from most sides. A very useful note is that you can use the Bread Monsters forming in the radioactive puddles as a way of explosive jumping. Hitting a Bread Monster with your melee weapon causes it to explode, knocking you back. Remember to use it wisely as it deals a bit of damage and takes some time to respawn.
- These are placed in corners around the entire map. They can be used to pick a low health player, or deal a large chunk of damage to gain the upper hand in a one-on-one fight.
Class-specific strategy
 Scout
Scout
 Soldier
- To the right first RED spawn, You can jump on an overhanging bar to the right via Rocket Jumping, which can be used as an advantage for surprise flanking.
 Pyro
Pyro
 Demoman
 Heavy
Heavy
 Engineer
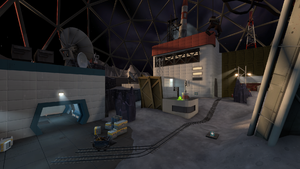
- While defending near the first BLU spawn, consider putting your sentry behind the yellow panels, this makes it harder for enemies to reach the Sentry and is an unexpected spot. This spot also works well if attacking.
- Another good place for a Sentry is on a bridge near the end of the map, as enemies will have to pass through this point and will have to focus your Sentry for a while, delaying their advance.
- At the complete end of the map at the giant Bread Monster is another good spot for your Sentry Gun - there is a wall that you can place your Sentry behind. place it in such a way that it can see most of the Payload cart track but doesn't stick out too much to make it harder to destroy.
