Community Phoenix strategy
| “Sun Tzu's got nothing on us!” This article is a Community strategy stub. As such, it is not complete. You can help the Team Fortress Wiki Community Strategy Project by expanding it. |
| Community Phoenix strategy | |
|---|---|

| |
| Basic Information | |
| Developer(s): | {{{map-developer}}} |
| Map Info | |
| Environment: | Desert |
| Setting: | Daylight, Sunny |
| Hazards: | Pitfall, Payload Cart explosion, Drowning |
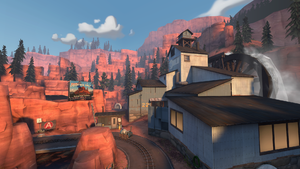
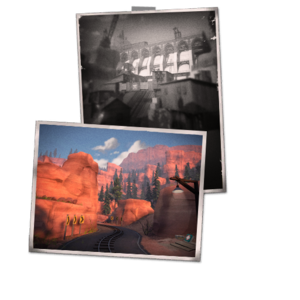
| Map Photos | |
This article is about Community Phoenix strategy.
Note: It is recommended to read the main Phoenix article first to become familiar with the names of key map locations used in this article.
General Strategy (All Classes)
See also: Community Payload strategy
General class strategy
 Scout
Scout
- The Force-A-Nature can allow for easier flanking on this map, there are a lot of platforms and routes that you can use to your advantage.
- Due to the close quarters nature of this map there is hardly any space for dodging explosive projectiles. Consider equipping the Mad Milk to recover the lost health from explosive projectiles in a fight.
 Soldier
- Spamming rockets down the chokepoints is especially effective on this map.
 Pyro
Pyro
- The Detonator or Scorch Shot can be very effective to spam down chokepoints.
 Demoman
- Using the Iron Bomber, you can make chokepoints much harder to push through due to the grenades not rolling away and staying in the chokepoint.
 Heavy
Heavy
 Engineer
 Medic
Medic
 Sniper
- The Huntsman can be very effective on this map due to a lack of large sightlines, meaning most combat will take place in medium range.
